If you’ve searched for a DIY guide to installing Bahama shutters, you’re probably either trying to save money on curb appeal, or you’ve priced a professional installation and had sticker shock. Both are fair reasons to want to know exactly what the job entails before you decide who’s doing it.
Here’s the honest version: some Bahama shutter installations are a solid weekend project for a reasonably handy homeowner. Others are engineering work that requires stamped calculations, permits, and specific anchoring hardware. The difference comes down to what you’re actually installing, and that’s where most homeowners get tripped up.
| Time to Read | About 9 to 11 minutes |
| What You’ll Learn | • The two types of Bahama shutters and why they’re not the same product
• What a real DIY-friendly installation actually looks like • What a hurricane-rated installation involves (and why it’s not DIY) • What insurance carriers will and won’t credit • What you can do yourself before calling a pro |
| Next Steps | • Confirm whether your shutters are decorative or storm-rated
• Look up your county’s permit requirements for exterior shutter installation • Talk to your insurance carrier about wind mitigation credit eligibility |
The Two Types of Bahama Shutters
Before you buy anything, you need to know which of two categories the shutter you’re looking at falls into. They look nearly identical, they get sold under the same name, but they do very different jobs.
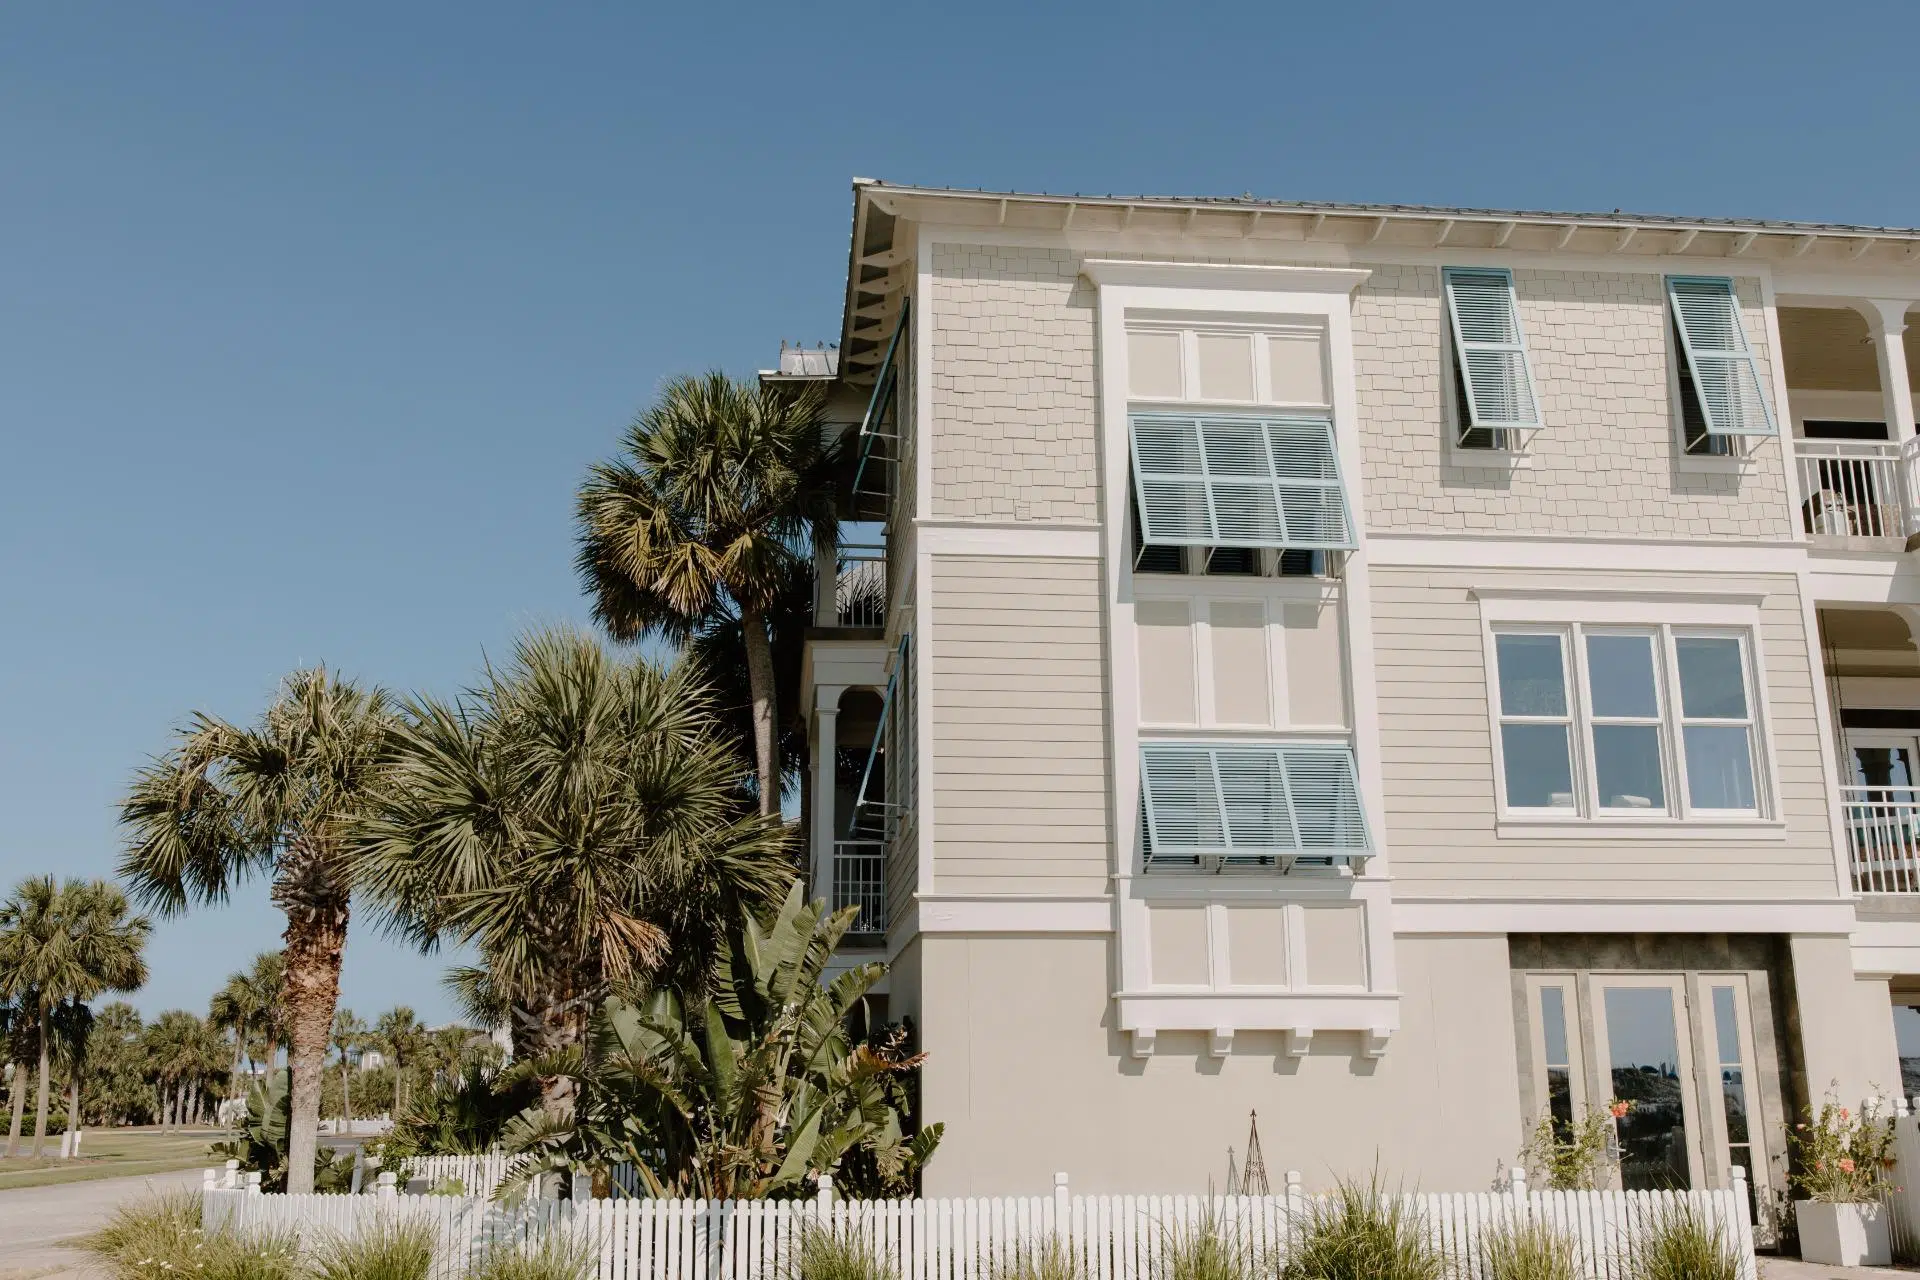
Decorative Bahama shutters are non-rated exterior awnings. Usually made of thin vinyl, aluminum, or composite, they mount to your window frame or siding, prop out at a fixed or adjustable angle, and provide shade and curb appeal. They are not tested to withstand hurricane-force winds or debris impact. Big-box stores sell these in kits, and prices typically run $100 to $300 per window, with the installation a solid intermediate DIY project.
Storm-rated Bahama shutters are engineered hurricane protection. They’re built from heavy-gauge extruded aluminum, they carry either Florida Product Approval or a Miami-Dade NOA (Notice of Acceptance), and they’re tested to withstand debris impact under ASTM E1996 protocols. Installation involves calculated anchor spacing based on your wall substrate, permits pulled through your county building department, and typically a final inspection. Cost runs $500 to $1,200 per window installed, and the installation itself is not a DIY project. More on why below.
If you’re not sure which type you’re looking at, check the product documentation for a Florida Product Approval number (formatted as FL-xxxxx) or a Miami-Dade NOA number. If there’s no number, it’s not rated.
What Decorative Bahama Installation Actually Looks Like
For decorative shutters on a non-hurricane-facing wall, an interior courtyard, a guest cottage, or a shed, a competent DIYer can absolutely handle installation over a weekend. Here’s the honest workflow:
Measuring. Measure the window opening at the widest and tallest points. Decorative Bahamas typically extend 1 to 3 inches beyond the window frame on each side. Note whether your siding is stucco, wood, vinyl, or fiber cement, since the anchor type depends on the substrate.
Marking. With the shutter held in place (this is a two-person job), mark hinge locations on the wall using a level. Bahama shutters hinge at the top, so your top mounting line needs to be perfectly horizontal, or the shutter will hang crooked.
Drilling. Drill pilot holes at each hinge location. Into wood siding, use a standard bit. Into stucco or fiber cement, use a masonry bit and go slow to avoid cracking the surface. Into vinyl siding, you’ll typically drill through into the sheathing behind.
Anchoring. Use the hardware supplied with your shutter kit. If it doesn’t come with hardware appropriate to your substrate, buy substrate-specific anchors separately (concrete anchors for stucco, wood screws for wood).
Mounting. Attach the top hinge assembly first, then hang the shutter from it. Adjust the prop arms at the sides to your preferred angle. Most decorative Bahama shutters have adjustable arms so you can dial in the shade angle.
Sealing. Caulk around any hardware that penetrates siding to prevent water infiltration. In this climate, unsealed screw holes will leak within a few months.
For a handy homeowner with a helper, plan on about two hours per window for a first install, dropping to under an hour once you’ve done a few.
What Storm-Rated Installation Actually Involves
This is where the DIY approach falls apart. Not because storm-rated Bahama shutters are physically harder to hang (they’re not), but because the whole installation is governed by engineering, permits, and inspection requirements that a homeowner installation can’t satisfy.
Wind load calculations. Every window opening in your house has a specific design wind pressure based on your location, your home’s height, exposure category of the land, and the size and position of the window. Storm-rated Bahama shutters have to be anchored to withstand that pressure. Calculations follow the wind load standards referenced by the Florida Building Code, and the specific anchor spacing has to be documented on the permit drawings.
Substrate-specific anchoring. The bolts and expansion anchors that hold a storm-rated shutter to a concrete block wall are completely different from the ones that hold it to a wood-frame wall or a hollow stucco-on-frame wall. Installing the wrong anchors, or spacing them incorrectly, means the shutter will fail in a storm even if the shutter itself is rated. This is not a “check the manual” job. It’s a “read the engineering drawings” job.
Permits. Lee, Collier, and Charlotte counties all require permits for hurricane shutter installation. The permit application requires product approval documentation, engineered installation drawings, and typically a licensed contractor’s signature. A homeowner can pull an owner-builder permit, but it triggers additional scrutiny and inspection requirements, and it makes you personally liable if the installation fails.
Final inspection. After installation, your county sends an inspector to verify that the shutter matches the approved product, that the anchoring pattern matches the engineered drawings, and that everything is properly sealed. Fail the inspection, redo the work.
Skipping any of these steps means you have hurricane shutters that look right but that a) won’t perform as designed in a storm, b) won’t qualify for insurance wind mitigation credits, and c) may void your homeowners policy if a claim traces back to the improperly installed shutters.
Florida Product Approval and Why It Matters
Every product that qualifies as hurricane protection in Florida has to be tested and approved. There are two systems:
Florida Product Approval is the statewide system administered by the Florida Building Commission. Manufacturers submit products for testing under specific ASTM protocols, and once approved, the product gets a number (formatted as FL-xxxxx) that any county in the state accepts.
Miami-Dade NOA (Notice of Acceptance) is the county-level approval system used in Miami-Dade and Broward, widely considered the gold standard, and is accepted across the state. Products with a Miami-Dade NOA have passed the most stringent hurricane testing available.
A shutter without one of these approvals is not legal hurricane protection anywhere in the state, regardless of what the marketing materials say. If a big-box store product doesn’t list either number, it’s a decorative product, not storm protection.
What Insurance Will and Won’t Credit
Wind mitigation credits are one of the strongest financial arguments for storm-rated shutters. Depending on your carrier and your existing home features, properly installed hurricane shutters can reduce homeowners premiums by 15 to 45 percent. But the operative word is “properly.”
To qualify for the credit, your installation has to be documented on the OIR-B1-1802 Uniform Mitigation Verification Inspection form (the “wind mit form”), completed by a qualified inspector after the shutters are in. The inspector needs to see:
- Product approval documentation matching the shutters as installed
- Evidence that the installation follows the approved specifications
- A closed permit on file with the county
A homeowner DIY installation, even of a properly rated shutter, typically fails the inspection because there’s no permit trail. That means you paid for storm-rated shutters and got zero insurance benefit. Over the life of a typical policy, that can add up to thousands of dollars in lost credits.
What You Can Actually Do Yourself Before Calling a Pro
Even if hiring an installer is the right answer, there’s real work you can do to make the process cheaper, faster, and better.
Measure your openings. Get accurate width and height on every window you’re considering. Note which walls face the water or the prevailing wind direction, since those are the priority openings if you’re phasing the project.
Photograph your substrate. Take clear photos of your siding, corners, and any existing shutter installations. Installers can quote more accurately from photos than from a phone conversation.
Look up your permit history. Your county’s property appraiser website usually shows past permits and construction. Know when your house was built and whether existing exterior work was permitted.
Get three quotes. Prices vary widely for the same product. Ask each installer what specific product they’re pricing (with the Florida Product Approval number), how they handle the permit, and whether the quote includes final inspection.
Talk to your insurance carrier. Before you sign anything, ask which shutter types qualify for the maximum wind mitigation credit on your policy. Some carriers cap the credit at a certain rating tier, and it can affect whether the top-shelf product is worth the money over a mid-tier option.
Consider phasing. You don’t have to shutter the whole house at once. Prioritize the openings on the wall facing the water or the prevailing wind, and add the rest in later phases if budget is tight.
When DIY Is Actually the Right Call
Decorative Bahama shutters on a non-storm-facing wall, a guest cottage that isn’t code-required to be shuttered, or a decorative accent on a garage window: DIY is fine, and honestly, hiring a pro for that job is a waste of money.
Any window where the shutter is intended to provide actual hurricane protection: it’s not a DIY job, and the insurance math alone makes hiring a professional the cheaper option in the long run.
If you’re not sure which category your project falls into, or if you’d like an honest opinion on whether storm-rated Bahamas make sense on your particular home versus another shutter style, Shutters239 has been installing every category of exterior shutter around here for over four decades. We’re happy to come out, look at your openings, and give you a straight assessment of what you actually need. Free consultations, no pressure, and we offer discounts for veterans, teachers, and first responders as a thank-you for what you do.